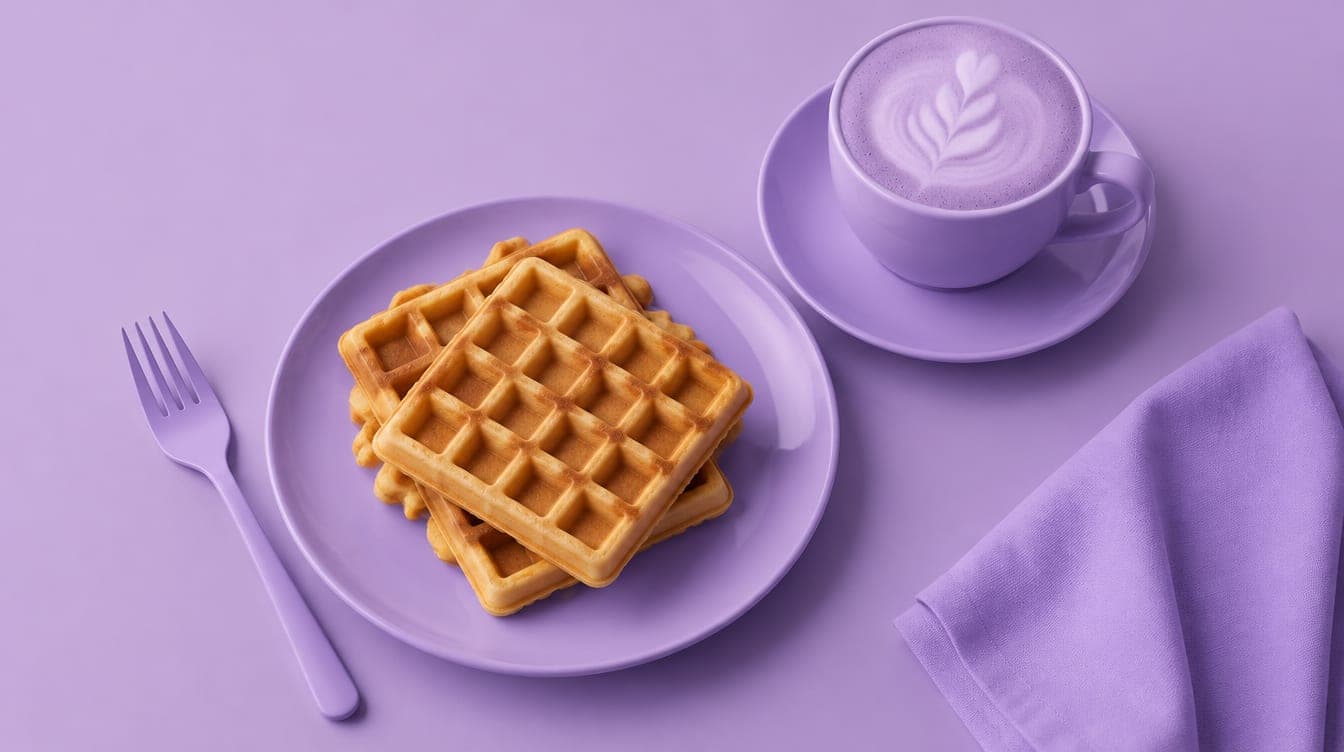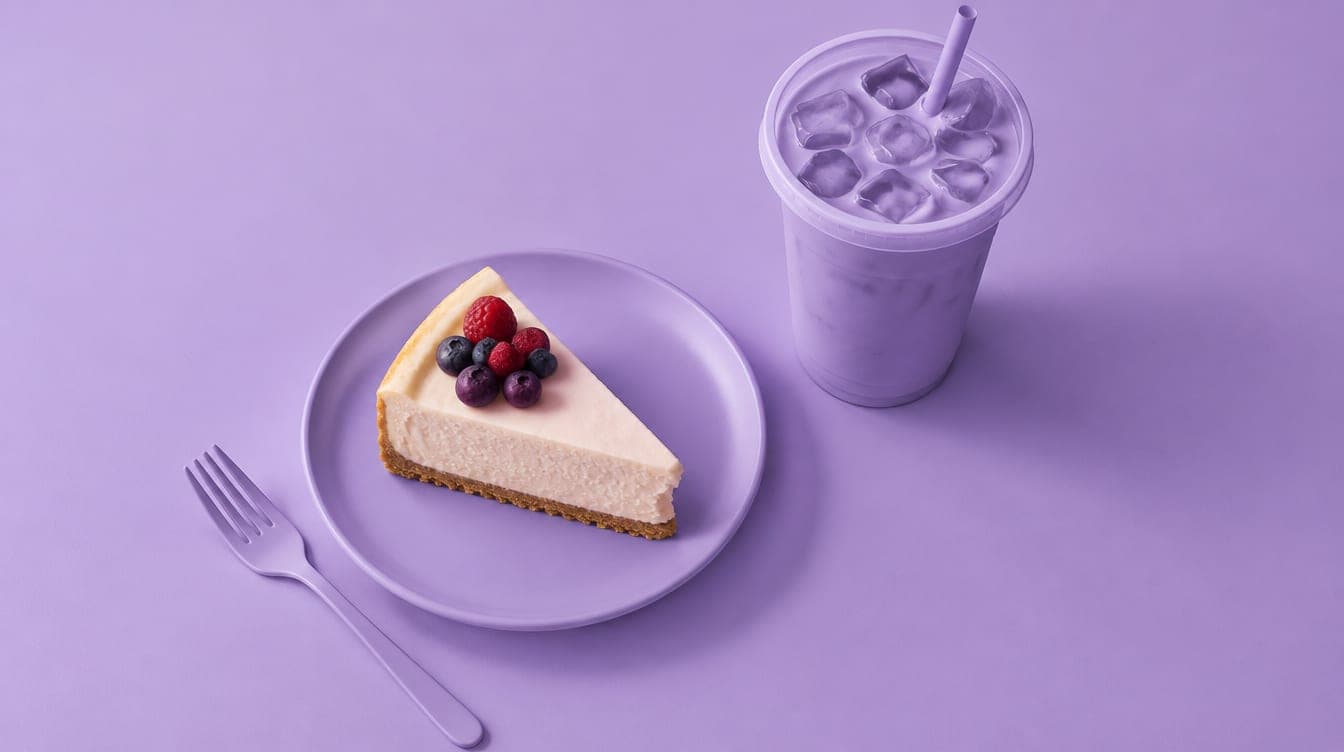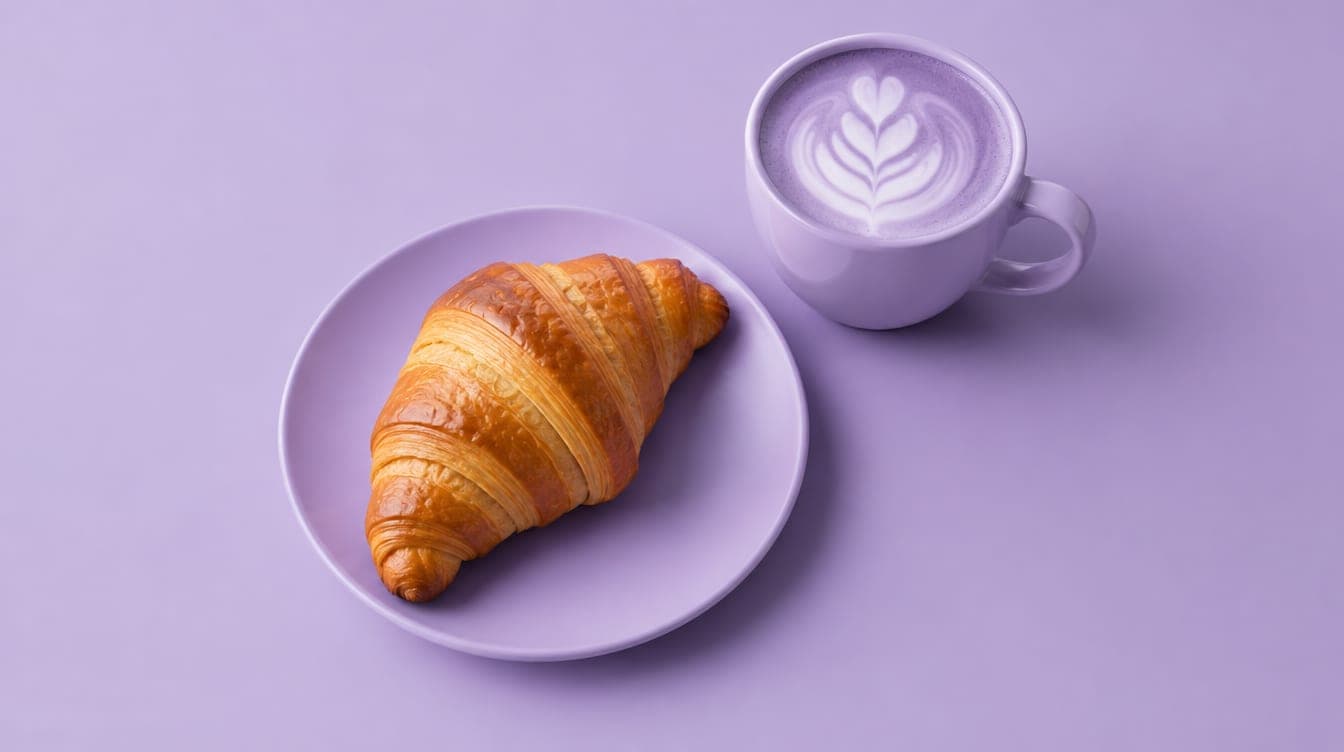
You can take good menu photos with the phone you already own. You need four things: daylight from a side window, a white card to fill the shadows, the right angle for each dish, and the same background for every photo on the menu. Turn the flash off, switch off the overhead lights, put the plate near the window, shoot at the angle that suits the dish (straight down for flat plates, from the side for burgers and drinks), and keep the dish in the middle of the frame so it survives the crop on a digital menu. A whole menu can be shot in one afternoon if you plan a shot list and cook in batches. This guide covers the kit, light, angles, plating, a shooting workflow, free editing, file sizes for a QR menu, and why the photo must look like the plate you serve. It is general information, not legal advice.
Why do photos matter more on a digital menu?
On a printed menu the guest reads. On a QR menu the guest scrolls a phone screen, and the photo is the largest thing on it. A clear photo explains a dish faster than a line of text.
Figures like "photos lift sales by 30%" usually come from vendor blogs, not studies we could trace. One peer-reviewed study we could verify, published in the Journal of Business Research in 2022 by researchers at Ohio State and partner universities, ran two online experiments. More saturated (more colourful) photos made the food look fresher and tastier and made people say they were more likely to buy (Ohio State News, August 2022). It measured stated intent, not real sales. The practical point: colour and freshness on screen matter, and a dull, grey photo works against the dish.
What kit do you need for menu photos?
| Item | What it does | Cost |
|---|---|---|
| A recent phone | Any phone from the last few years shoots sharp enough for a web menu | Already owned |
| A window with daylight | Your main light; soft, even and free | Free |
| White foam board or card (A3 or larger) | Bounces light back into the dark side of the dish | A few dirhams at a stationery shop |
| Black card | Blocks light to add shadow when a dish looks flat | A few dirhams |
| Small phone tripod with a clamp | Keeps every shot at the same height and angle | Low cost at electronics shops |
| One table top or board | Your fixed background for the whole menu | Use a restaurant table, or a wood or stone board |
A tripod matters more than a better phone: it keeps the angle identical across 40 dishes.
How should you light food for menu photos?
Use one soft light from the side. That light is a window.
- Side window light. Put the table next to a window so the light falls across the plate from the left or right. Side light shows texture: crust on bread, grill marks, the shine on a sauce.
- No direct sun. Hard sun makes harsh shadows and blown-out highlights. If sun hits the table, hang a white sheet or baking paper over the window, or shoot on the shaded side of the building. In the Gulf, mid-morning or late afternoon light near a north-facing window is usually the easiest.
- Overhead lights off. Restaurant ceiling lights are often warm or mixed colours and come from above, which flattens food and adds a yellow cast. Switch them off for the shoot.
- Flash off. The phone flash makes food look greasy and flat and throws a hard shadow straight behind the plate.
- White card opposite the window. Stand the card on the far side of the plate, angled toward it. It fills the shadow side so the dish does not fall into black.
Tap the dish to focus, and slide exposure down if white areas look washed out.
What is the best angle for each type of dish?
Pick the angle that shows what makes the dish worth ordering. Then use the same angle for every dish of that type on the menu.
| Dish type | Best angle | Why |
|---|---|---|
| Pizza, flatbreads, manakish | Straight down (90°) | The toppings are the dish |
| Salads, mezze spreads, bowls, poke | Straight down, or 45° for deep bowls | Shows every ingredient |
| Sharing platters, mixed grills | Straight down | Shows the size and variety |
| Burgers, sandwiches, wraps cut open | Eye level (0–15°) | Shows the layers |
| Drinks, juices, layered desserts in a glass | Eye level | Shows height, colour and layers |
| Cakes (slice) | Eye level or 30° | Shows the layers and the cut face |
| Pasta, rice dishes, biryani, mandi | 45° | Shows height and the top at once |
| Soups, curries, stews | 45° or straight down | Shows the surface and garnish |
| Steaks, grilled fish | 30–45°, cut shown | The cut face shows the doneness |
| Coffee with latte art | Straight down or 30° | The art is on top |
When unsure, use 45°: it is what diners see when they sit down.
How should you style and plate food for the camera?
Plating
- Plate the dish as you serve it. Same plate, same portion, same garnish. More on this below.
- Wipe every rim with kitchen paper. Drips and fingerprints show.
- Build height. Stack or lean rather than spread flat.
- Leave space on the plate. A plate filled to the edge looks crowded on a small screen.
Keeping food fresh on camera
- Shoot hot food fast. Have the camera set up before the plate leaves the pass. Most hot food looks best in the first two or three minutes.
- Brush a little oil or water on grilled meat, vegetables and rice that has dried out.
- Shoot drinks with fresh ice and pour just before the photo. Condensation on a cold glass reads as cold.
Props
Keep them few and the same style across the menu: a fork, a napkin. If a prop is not something the guest gets, keep it out of the frame.
How do you keep the whole menu consistent?
- One background for the whole menu. Pick one surface: a light wood board, a marble slab, a dark slate or your own table top. Use it for every dish.
- Match the background to the menu. If your digital menu has a light background, a light or mid-tone surface sits well on it. If your menu is dark, a dark surface (slate, dark wood, black) looks natural.
- Same angle per dish type, using the table above.
- Same distance. Lock the tripod height so each plate fills the frame by the same amount.
- Same time of day. If the shoot runs two days, shoot both at the same hour, near the same window.
How do you shoot a whole menu in one afternoon?
Before the day
- Export the menu into a shot list: one row per dish, with its section and its angle from the table above.
- Order the list by angle, then by temperature: all the overhead shots together, then all the 45° shots, then the eye-level ones. You move the tripod three times, not forty.
- Put cold dishes, desserts and drinks in one block and hot dishes in another.
- Prep garnishes, sauces and extra ingredients for each dish.
- Do a test shot of one dish the day before.
On the day
| Step | Time | What happens |
|---|---|---|
| Set up | 30 min | Table at the window, background down, tripod locked, white card in place, test shot |
| Cold block | 60–90 min | Salads, mezze, desserts, drinks; these hold, so shoot several angles |
| Hot block | 90–120 min | Kitchen fires one dish at a time; shoot within minutes of plating |
| Check | 15 min | Look at every photo full screen on the phone; reshoot any that are soft or dark |
| Back up | 5 min | Copy the photos to a shared folder named by dish |
Shoot 5–10 frames per dish and name files after the dish (
chicken-shawarma-plate-1.jpgLight changes fast in the last hour before sunset; finish before then.
How do you edit menu photos with free phone tools?
The phone's built-in editor (Photos on iPhone, Google Photos or the gallery app on Android) is enough. Snapseed, a free app from Google, adds finer control if you want it. Edit every photo with the same steps, in this order:
- Straighten and crop. Level the table edge. Crop so the dish sits in the middle with some space around it.
- Exposure or brightness. Lift it until the plate looks bright but white areas still show detail.
- White balance (warmth). Make the white plate look white, not yellow or blue.
- Contrast. A small lift to give depth.
- Saturation or vibrance. A small lift. Stop before the food looks fake.
- Sharpness. A touch, only if the phone did not already sharpen it.
Edit one photo, then copy the edit onto the rest so the menu has one look.
Do not use beauty filters, AI "enhance" that changes the food, or cut-out backgrounds. They change what the dish looks like, which leads to the next point.
What size and shape should photos be for a web menu?
Full-resolution phone photos are several megabytes each and load slowly on 4G at the table.
- Shoot in 4:3. It is the default photo format on most phones and matches how most digital menus show dish photos.
- Keep the dish in the centre. Menus often show the same photo in two shapes: a square thumbnail in the list and a wider photo on the dish page. The edges are cropped, so anything important at the edge can disappear.
- Long side around 1,200–1,600 pixels is plenty for a phone screen.
- JPG or WebP, not HEIC. iPhones save HEIC by default; if you upload from a computer, export as JPG first (or set the camera to "Most Compatible" in the iPhone camera settings).
- Check one photo in the real menu on your own phone, on mobile data, before uploading the rest.
From the platform: In Kartee, each dish takes up to 3 photos (JPG, PNG or WebP, up to 5 MB each). The first is the main photo, shown as a square thumbnail beside the dish in the menu list; on the dish page guests swipe through all of them at 4:3. You can mark dishes as "Picks for you" to show them as larger photo cards at the top of the menu. Kartee shrinks each dish photo to at most 1,400 px on the long side and saves it as WebP before upload, so menus load fast on mobile data. Branding sets your logo, a wide cover image, your brand colour and the menu background: light presets (White, Paper, Cream and others) or dark ones (Black, Charcoal, Navy, Espresso), so you can match the menu to the background you shot on. Starter is $12/month (4 users, 1 branch), Growth $29/month; both have a 14-day free trial. Details at kartee.tech.
Why must the photo look like the dish you serve?
Because the guest orders the photo. If the plate that arrives is smaller or different, the guest feels misled, and that shows up in complaints and reviews.
The UAE's consumer protection law (Federal Law No. 15 of 2020, amended in 2023) prohibits misleading advertising and gives consumers the right to accurate information about goods and services. We found no Dubai Municipality or federal rule written specifically about menu photos, so treat this as a practical rule, not a legal checklist, and ask your licensing authority if you are unsure about a specific case.
The practical rules:
- Real portion, real plate. Photograph the dish exactly as the kitchen sends it.
- No extras that do not come with the dish. If a side, sauce or drink is in the frame but not included, move it out or say "served with" only for what is served.
- Reshoot when the dish changes. New plate, new garnish, smaller portion: new photo.
- Edit light and colour, not the food. Brightening a photo is fine. Making the portion bigger or adding ingredients is not.
- No stock or supplier photos for a dish you plate yourself.
Frequently asked questions
Do I need a professional photographer for menu photos?
No, not to start. A phone, window light and a tripod give a clean, consistent menu. A photographer makes sense for a cover image, a launch or a large menu.
How many photos should each dish have?
One strong photo is enough for most dishes. Add a second or third for dishes where an inside view or a close-up helps the guest choose, such as a cut burger, a cake slice or a platter. Start with best sellers and high-margin dishes.
Should every dish on the menu have a photo?
It helps, but a bad photo is worse than none. Photograph your best sellers and the dishes you want to sell more of first, then fill in the rest. Sides and simple drinks can go without.
How often should menu photos be updated?
Whenever the plating, plate or portion changes, and when a seasonal dish comes back looking different.
Next steps
Pick one background, set up next to a window, write a shot list ordered by angle, and shoot your ten best sellers first. Edit them with the same steps, upload one to the live menu and check it on your phone before doing the rest.
Related reading:
- How to set up a QR code menu for a restaurant in the UAE: view-only vs ordering, VAT-inclusive prices and printing the table codes.
- Food cost and menu engineering for Gulf restaurants: find the high-margin dishes worth photographing first.
- How to get more Google reviews for your restaurant: what happens after the guest's plate matches the photo.
Put your photos on a Kartee menu: up to 3 photos per dish, light or dark menu background, your logo and colours, and one QR code per table. 14-day free trial, from $12/month. Start your free trial.